One of the most common photo sizes used worldwide for ID photos is 3.5 cm x 4.5 cm. When it comes to official documents like passports, driver’s licenses, or any government-issued ID, getting the photo size right is crucial. But why is this size so important? And how do you make sure your ID photo fits these exact dimensions?
In this guide, we will explain everything you need to know about the standard size, why it’s the perfect choice for your ID photo, and how to ensure your photo meets these requirements. Whether you’re applying for a passport, visa, or just need a standard ID photo, this will help you understand and use the 3.5 cm x 4.5 cm dimensions to your advantage.
Why Is 3.5 cm x 4.5 cm the Standard Size?
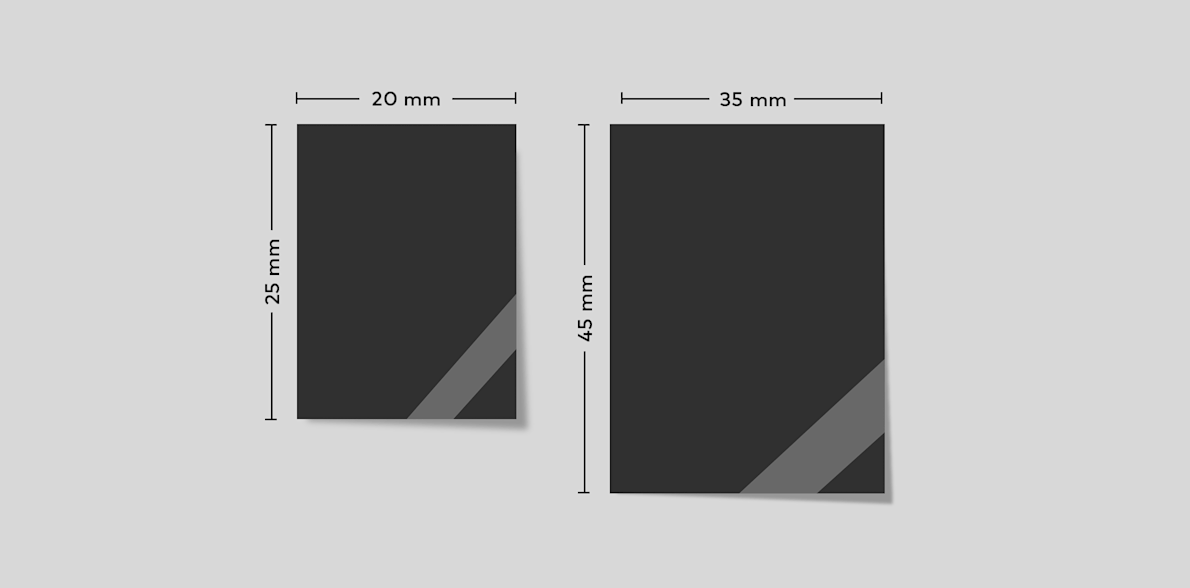
1. Universally Accepted for Official Documents
The 3.5 cm x 4.5 cm size is the standard for many official documents worldwide. Governments and institutions have adopted this size for various reasons. For example, This is small enough to fit neatly on a card, but large enough to allow a clear, recognizable image of your face. This size is optimal for quick identification in places like airports, banks, and other secure locations.
2. Consistency in Identification
The consistency of this size ensures that there are no variations or issues when your ID photo is scanned or processed. Whether you are applying for a national ID card or a passport, the 3.5 cm x 4.5 cm size helps avoid confusion and ensures your photo meets international standards.
3. 3.5 x 4.5cm Is Easy to Resize
For those who need to resize their photos for official documentation, the 3.5 cm x 4.5 cm size is easy to work with. Many photo editing apps and tools allow you to resize your image to these dimensions quickly, which saves time and reduces the risk of errors.
How to Measure and Resize Your Photo to 3.5 cm x 4.5 cm

If you’re taking a photo yourself or using an online tool, you’ll need to make sure that your image fits the dimensions. Here’s how to do it:
1. Taking the Photo
Before you even start resizing, it’s important to take a proper photo. Here’s what you need to know:
- Clear Background: Make sure your background is plain (preferably white or light-colored).
- Proper Lighting: Good lighting is essential. Avoid shadows on your face.
- Straight Headshot: The photo should be taken from the front, with your face clearly visible and no tilting or turning.
- Neutral Expression: You should have a neutral expression, with your mouth closed and eyes open.
2. Using Photo Editing Software or Apps
Once you have your photo, you can use photo editing tools like Adobe Photoshop, GIMP, or online tools like IDPhoto4You to resize the image to 3.5 cm x 4.5 cm.
- Open the Image: First, open your photo in the editing software.
- Adjust the Size: Locate the resize tool and set the width to 3.5 cm and the height to 4.5 cm.
- Check Resolution: Make sure the resolution is at least 300 dpi (dots per inch). This ensures the photo will print clearly.
3. Check Proportions and Quality
After resizing, check the image quality and proportions. The face should fill up most of the photo, with a small border around the edges. It’s important that the image is not stretched or pixelated.
Common Uses for 3.5 cm x 4.5 cm Photos

This size is used in various official documents. Here are some of the most common:
1. Passport Photos
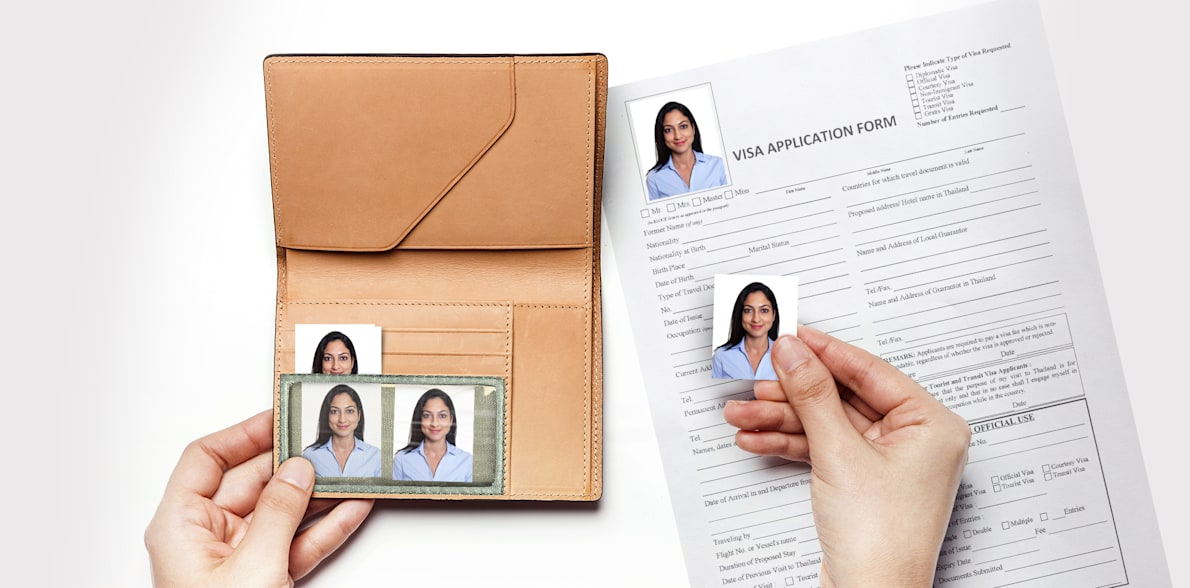
The 3.5 cm x 4.5 cm size is a global standard for passport photos. Countries like the United States, the UK, and many others use this size for passports. It’s important that your photo meets this size to avoid delays in processing your passport application.
2. Visa Photos
For visa applications, embassies and consulates often require a 3.5 cm x 4.5 cm photo. Some countries may have additional specifications (like facial expression or head size), but the size remains the same.
3. National IDs and Driver’s Licenses
In many countries, this is the default size for national ID cards and driver’s licenses. This ensures that the card fits into wallets and other ID card holders without issues.
4. 3.5 cm x 4.5 cm Employment ID Cards
Companies often require 3.5 cm x 4.5 cm photos for employee identification cards. This size ensures that the photo fits on the ID badge and is clear enough for recognition.
How to Ensure Your Photo Meets the Requirements
Each country or institution may have slightly different requirements for ID photos, but here are some general tips to help ensure your 3.5 cm x 4.5 cm photo is accepted:
1. Follow Guidelines Provided by the Institution
Always check the specific photo requirements on the website of the institution requesting the photo. For example, passport photos may have specific rules about the distance from the camera or the color of your clothing.
2. Check Facial Features
Make sure that your face is centered, and your eyes are aligned with the middle of the photo. Your face should take up around 70-80% of the image, and your head should be positioned within the photo dimensions.
3. Verify Image Quality
The photo should be clear and high-resolution. Avoid blurry or pixelated images. If the quality isn’t good enough, your application may be rejected.
4. No Accessories
Avoid wearing glasses, hats, or anything else that obscures your face unless it’s for medical or religious reasons. In those cases, you may need to provide additional documentation.
Tools to Help You Resize Your Photo to 3.5 cm x 4.5 cm

If you don’t have photo editing software or just need a quick solution, several online tools can help resize your photo to 3.5 cm x 4.5 cm. Some popular ones include:
- IDPhoto4You: This free online tool helps you create passport-style photos that meet the standard size.
- Passport Photo Online: Another user-friendly website where you can upload and resize your photo to meet the official size requirements.
- PhotoScissors: A simple tool for cropping and resizing your image.
Understanding the Technical Side: Image Resolution and Quality
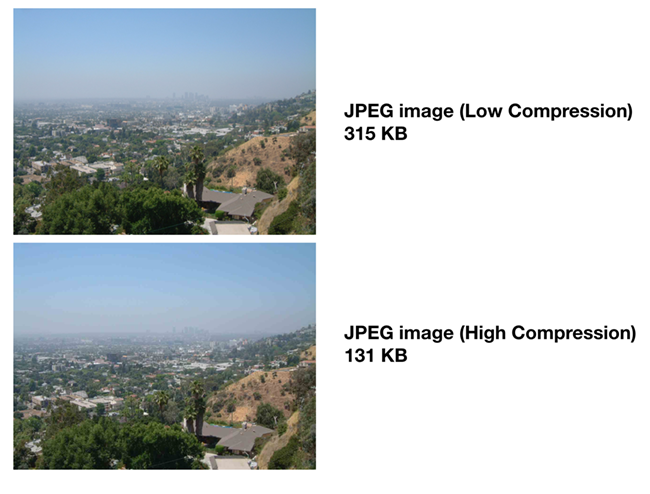
When resizing your photo to 3.5 cm x 4.5 cm, ensuring that the resolution is correct is just as important as getting the dimensions right. Many people overlook this detail, thinking that size is all that matters. However, image resolution can make or break the quality of your ID photo.
1. What is Image Resolution and Why Does It Matter?
Resolution refers to the number of pixels in an image. The higher the resolution, the more detailed the image will be. For official documents, 300 dpi (dots per inch) is the standard resolution for photos. This ensures that your photo will print sharply, with clear facial features. A lower resolution, such as 72 dpi, might be fine for web use, but it will result in a blurry or pixelated photo when printed for ID cards, passports, or visas.
If you’re using an online tool or photo editing software to resize your photo to 3.5 cm x 4.5 cm, ensure that you set the resolution to 300 dpi. This is especially crucial if you plan to print the photo yourself. A good rule of thumb is: the higher the resolution, the better the image quality.
2. Common Resolution Mistakes and How to Avoid Them
One common mistake people make is resizing the image without adjusting the resolution. If you simply shrink your photo’s dimensions without checking the dpi, you could end up with a low-quality photo. Always check the resolution after resizing and make sure it’s set to 300 dpi before printing.
Another issue can arise when an image has too high a resolution. While 300 dpi is the standard for most official documents, very high-resolution images (like 600 dpi) can result in larger file sizes that might not be compatible with all online submission systems. If you’re submitting your photo electronically, make sure it meets the file size and resolution requirements specified by the institution.
Common Mistakes to Avoid When Taking and Resizing Your ID Photo

1. Poor Lighting
Proper lighting is one of the most crucial factors when taking an ID photo. Without sufficient lighting, shadows can obscure your face, causing the photo to be rejected. Ideally, you want soft, even lighting on your face, with no harsh shadows. Avoid using a single overhead light, as it can cast shadows on your face and make it look unnatural.
Use natural light from a window or place a soft light source in front of you, ensuring your face is well-lit from all angles. If you use artificial lighting, make sure it’s diffused with a softbox or similar tool to avoid harsh shadows.
2. Bad Background Choices
A cluttered or brightly colored background can detract from the clarity of your ID photo. Most institutions require a neutral or light-colored background—white or off-white is often the safest option. A background that’s too dark or busy can make it difficult for officials to identify your face clearly.
For home setups, use a plain white wall or a piece of white poster board as your background. Ensure there are no patterns, shadows, or other distractions that could affect the quality of your photo.
3. Improper Positioning of the Face
One of the most common mistakes when taking an ID photo is not positioning the face correctly. Many people tilt their heads or angle themselves slightly, which can result in a photo that does not meet the requirements. Always position your head directly in front of the camera, keeping your face straight and your shoulders squared.
The center of your face should be aligned with the center of the image. Your eyes should be positioned around the horizontal center of the photo. The distance between your chin and the top of your head should also be within specified limits to ensure proper cropping during resizing.
Conclusion:
In conclusion, the 3.5 cm x 4.5 cm photo size is the ideal choice for many official documents like passports, visas, and driver’s licenses. This size is universally accepted and ensures that your photo fits neatly on your ID without any issues. By following the guidelines, using the right tools, and ensuring your photo is high-quality, you can ensure that your photo will meet all the requirements and avoid any delays in your application process. Remember, always check the specific requirements for your country or institution, and use tools to resize your image properly. With the right steps, you’ll have an ID photo that’s perfect for any official purposes.

